Delta has quickly become a sensation on the App Store since its release. While it already has a sleek design, you can take it a step further by adding custom themes. These themes can make your Delta emulator feel just like the Game Boy or other classic consoles you played as a kid.
For example, I discovered an amazing theme that gives your iPhone the see-through plastic look of the Glacier GameBoy Advance—it’s incredibly nostalgic! And there’s even a pink version available!
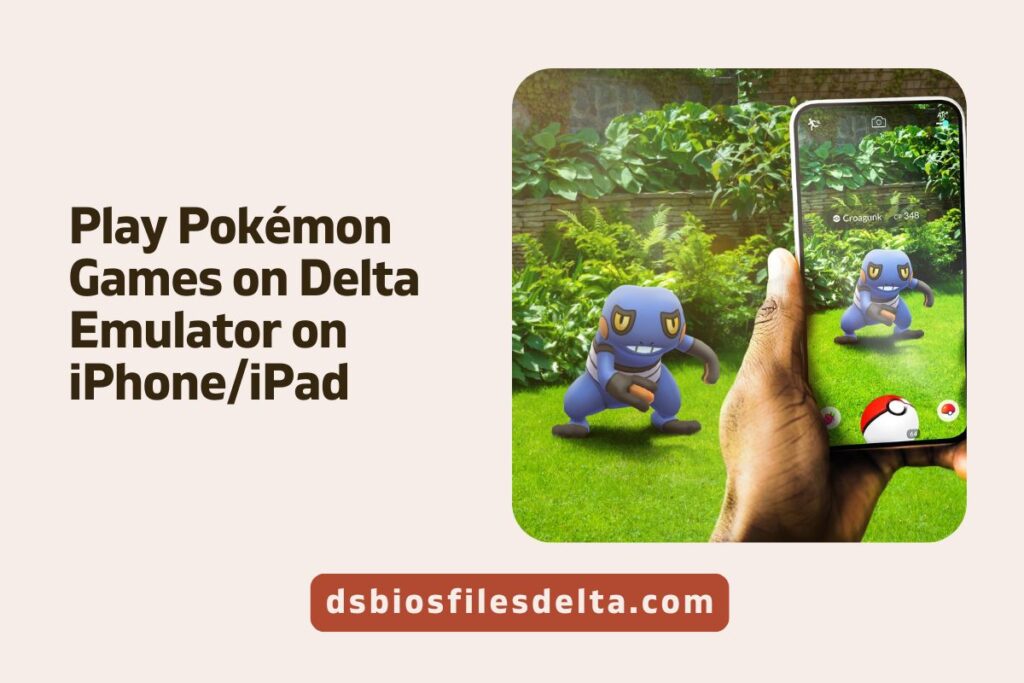
What is Delta Game Emulator?
Delta is an impressive game emulator developed by Riley Testut. If you’re unfamiliar with emulators, think of them as a kind of magic trick that allows your device to mimic different gaming systems. With Delta, you can play games from a wide range of consoles because it has built-in tools for each one. While it might sound complex, the user experience is straightforward.
For instance, if you want to play an old NES game, you simply load the game file into Delta, start the game, and you’re ready to play. Currently, Delta supports games from these systems:
- Nintendo Entertainment System (NES)
- Super Nintendo Entertainment System (SNES)
- Nintendo 64 (N64)
- Game Boy / Game Boy Color (GBC)
- Game Boy Advance (GBA)
- Nintendo DS (DS)
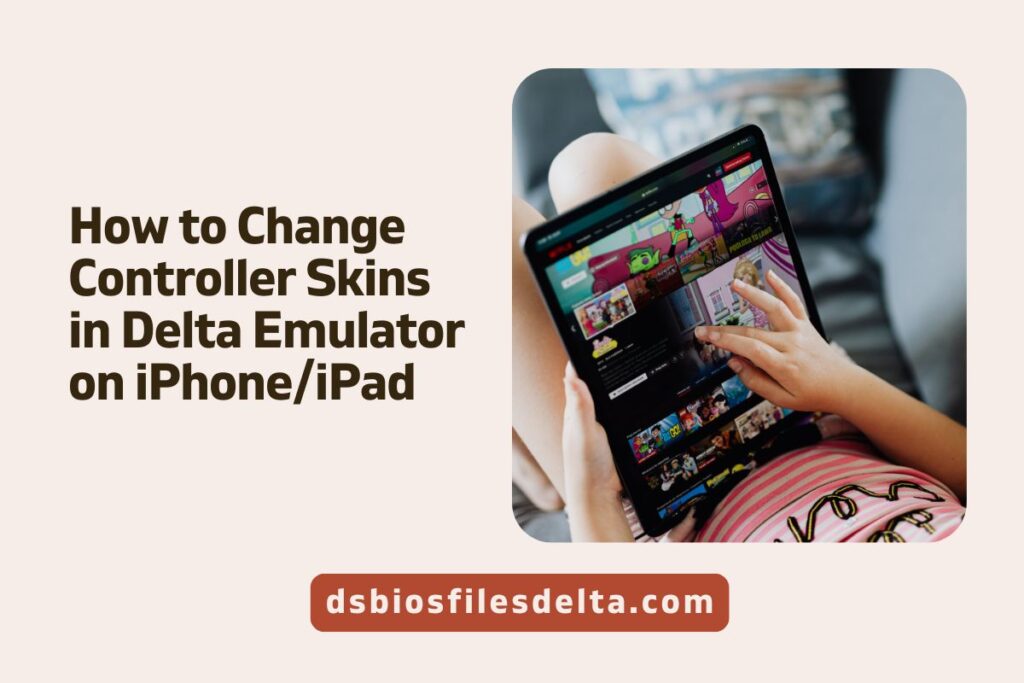
How to Get Skins for Delta Emulator
- Start on Your Phone: It’s easiest to do everything directly on your iOS device, though you can transfer files from a computer if necessary.
- Create a ‘Delta Skins’ Folder: On your phone, create a new folder called ‘Delta Skins’ to keep all your skins organized.
- Browse for Skins: Visit websites like Skins4Delta, Delta Skins, or Lit Skins to explore community-made themes. Skins4Delta and Delta Skins offer the most options, while Lit Skins features some unique designs as well.
- Download and Move Skins: Download the skins you like and move them into your ‘Delta Skins’ folder for easy access.
- Open Delta App Settings: Launch the Delta app and navigate to the settings section. Select the console you wish to customize from the list.
- Add Skins to Delta: Tap the plus icon in the top right corner to add new skins. Choose the skins from your ‘Delta Skins’ folder.
- Select and Apply Skins: Once the skins are uploaded to Delta, you can select which one you want to use. The chosen skin will apply the next time you open a game within that console’s environment.
Note: Most skins come in both vertical and horizontal versions. For example, if you download a clear pink skin, it will automatically upload both versions when you load it into Delta. However, you need to select the vertical and horizontal skins separately when applying them.
By customizing your Delta emulator with these skins, you can enhance your gaming experience and add a touch of personal style to your device!